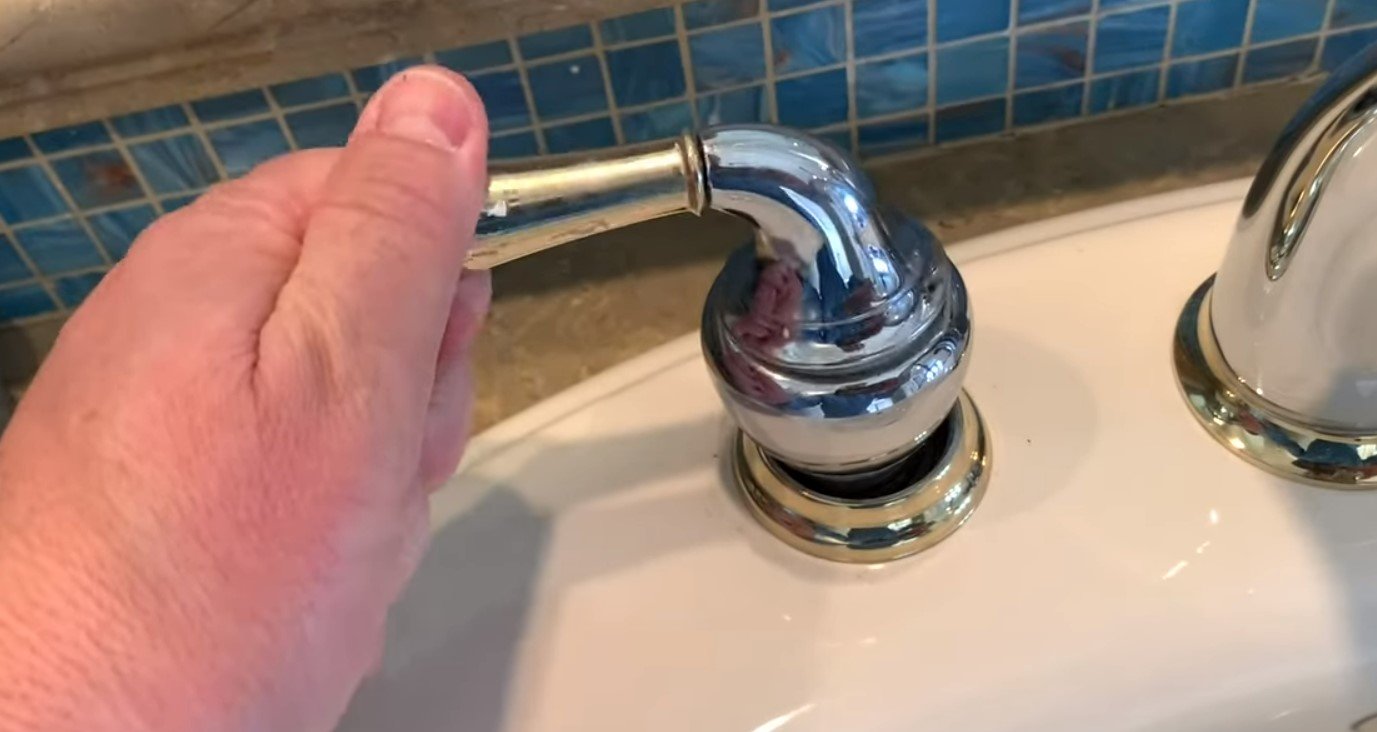
The rhythmic clinking of a loose faucet handle can be more than just an annoyance. It’s a siren song of potential leaks, wasted water, and a kitchen perpetually bathed in the soundtrack of drip-drop despair. But fear not, fellow culinary warriors! This guide will equip you with the knowledge and tools to vanquish the wobble and restore harmony to your sink symphony.
Diagnosing the Wobble: Identifying the Culprit:
Before you dive into repairs, pinpointing the source of the looseness is key. Here are the common suspects:
- Set screw: Located behind a small cover or beneath the handle itself, this screw tightens the handle onto the valve stem.
- Cartridge or washer: Worn internal components within the faucet can cause play and looseness in the handle movement.
- Nut beneath the sink: This secures the entire faucet assembly to the sink countertop and can loosen over time.
Gathering Your Arsenal: Tools and Supplies for Victory:
To effectively tighten your grip on your faucet, assemble these trusty allies:
- Adjustable wrench or pliers: For grasping and turning nuts and bolts.
- Flat-head screwdriver: To access set screws or pry off decorative caps.
- Allen wrench (optional): Some set screws require this specific type of wrench.
- Replacement parts: If you suspect worn-out internal components, acquire the appropriate cartridge or washer for your faucet model.
- Teflon tape (optional): If reassembling, this can improve sealing and prevent leaks.
Engaging the Enemy: Step-by-Step Takedown of the Wobble:
- Identify the type of faucet: Single-handle or two-handle? Knowing this determines the specific disassembly and repair steps.
- Turn off the water supply: Locate the shut-off valves under the sink and close them to prevent a watery battlefield.
- Prepare the battlefield: Clear clutter from under the sink and lay down towels or mats to catch drips.
- Access the set screw: Depending on your faucet type, locate the set screw behind a small cover or underneath the handle itself. Use the appropriate screwdriver or Allen wrench to tighten the screw snugly, but avoid overtightening.
- Tame the nut: If the wobble persists, the culprit might be the nut securing the faucet to the countertop. Use your adjustable wrench or pliers to tighten it firmly, ensuring the faucet stays upright and secure.
- Confront the cartridge or washer (optional): If the wobble emanates from within the faucet handle, you might need to replace the cartridge or washer. This requires following your faucet model’s specific disassembly and replacement instructions. Be meticulous, keep track of removed parts, and don’t hesitate to consult online tutorials or manufacturer guides for assistance.
- Reassemble and test: With everything back in place, turn the water supply back on and test the faucet handle. If the wobble persists or you encounter leaks, retrace your steps, double-check connections, and consider seeking professional help from a plumber.
Victory Dance and Preventative Measures:
Celebrate your success! A tight handle and a silent sink are yours to cherish. But to prevent future battles, consider these wise words:
- Regularly check for tightness: Every few months, give your faucet handles a wiggle test and re-tighten the set screw if needed.
- Minimize stress on the handle: Avoid pulling aggressively on the handle, especially when turning off the water forcefully.
- Invest in quality materials: When replacing internal components, opt for durable, brand-name parts for longer-lasting performance.
- Don’t hesitate to call for reinforcements: If the battle seems too complex, remember, professional plumbers are skilled heroes for a reason. Their expertise can save you time, frustration, and potentially prevent costly water damage.
Conclusion:
By understanding the source of the wobble, equipping yourself with the right tools, and following a methodical approach, you can tackle a loose faucet handle with confidence. Remember, DIY victory tastes sweetest, and a silent kitchen sink is a symphony of accomplishment in itself
